
How to Move a Website to a New Host (Without Downtime)
This guide may contain affiliate links. If you buy through them we may earn a commission at no extra cost to you. As an Amazon Associate I earn from qualifying purchases. Learn more.
Lessons 10 of 10
Quick Overview: To move a website to a new host, you back up the site, copy it to the new host (with a migration plugin or the host’s free migration service), test it, then point your domain to the new server. Done right, visitors never see downtime. This lesson walks through each step and the mistakes to avoid.
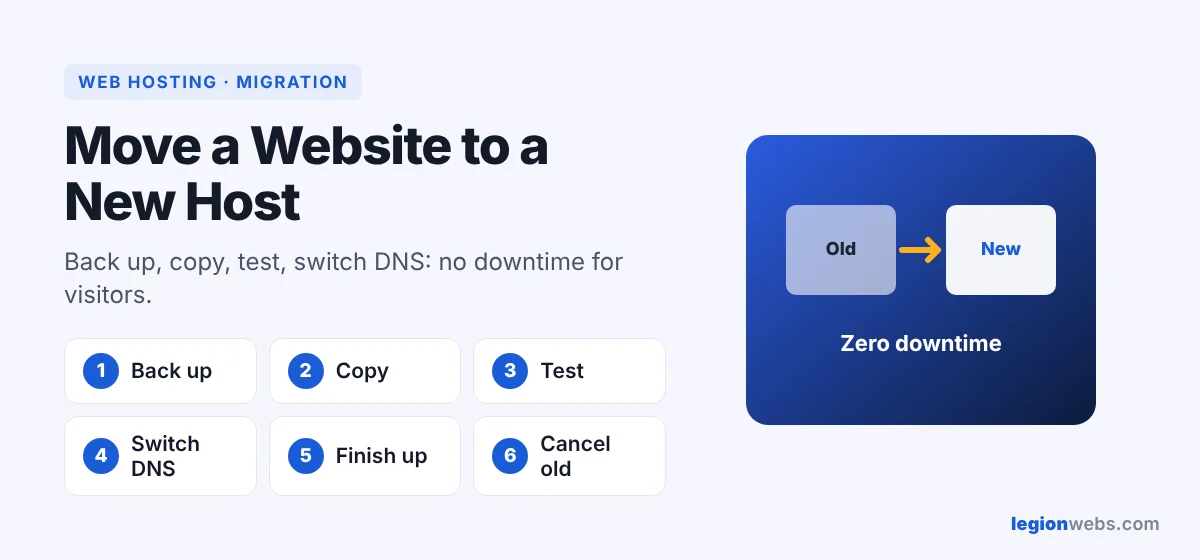
People move hosts for many reasons: slow pages, poor support, or a renewal price that suddenly doubled. Fortunately, moving is much easier than it sounds. The key is to keep your old host running until the new one works, so your site stays online the whole time. That way, you can move a website to a new host with no downtime at all.
What you need
- Login details for your old host and your domain registrar
- A new hosting plan, for example Hostinger, which offers free website migration
- About one hour of work, plus up to 48 hours of waiting for DNS
Step 1: Back up before you move a website to a new host
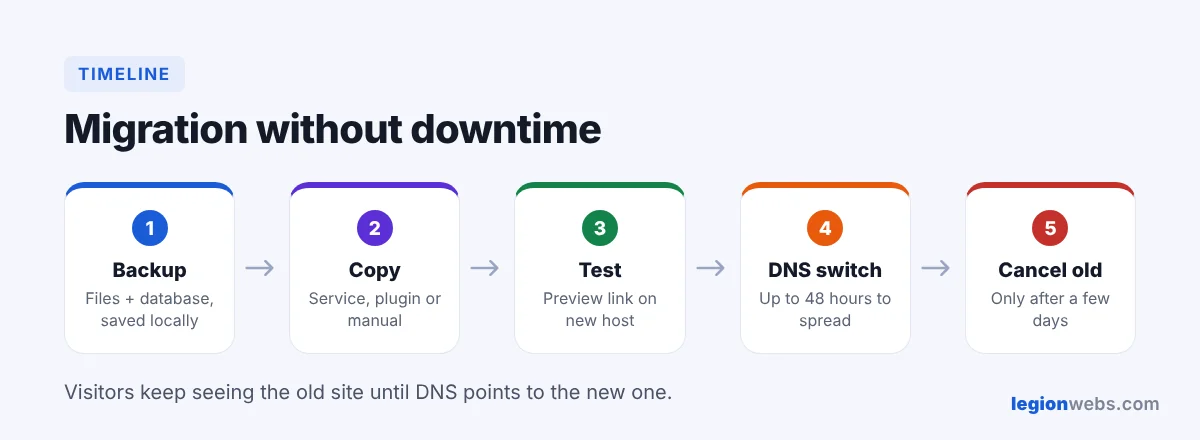
First, make a full backup of your files and database. Use your old host’s backup tool, or a WordPress backup plugin. Download the backup to your computer as well, so you have a copy that does not depend on any host.
Step 2: Choose how to move the website to the new host
| Method | Best for | Effort |
|---|---|---|
| New host’s free migration service | Beginners, WordPress sites | Lowest |
| WordPress migration plugin | Most WordPress sites | Low |
| Manual copy (files + database) | Custom sites, developers | High |
On Hostinger, for example, the free service sits under Account → Migrate Website in hPanel, according to Hostinger’s migration guide. You add a request with your site’s details, and their team moves it, usually within 2 to 48 hours.
Step 3: Copy the site to the new host
- Migration service: submit the request and wait for the confirmation email.
- Plugin: install WordPress on the new host, install the same plugin on both sites, then export from the old and import on the new.
- Manual: upload the files, import the database, and update the database details in your site’s configuration file.
Tip: before a service migration, turn off two-factor login and anti-bot protection on the old site temporarily, so the migration team can log in.
Step 4: Test the site before you switch
Next, preview the copied site on the new host. Most hosts offer a temporary address or preview link. Check the homepage, a few posts, forms, images and the admin login. Fix any problem now, while visitors still see the old host.
Step 5: Point your domain to the new host
Then log in to your domain registrar and change the nameservers (or the DNS records) to the ones your new host gives you. DNS changes spread gradually, so some visitors reach the new server within minutes, while others take up to 48 hours. Our lesson Domain Name vs Web Hosting shows how nameservers work.
Step 6: Finish up and cancel the old host
- Make sure SSL is active on the new host (the padlock shows).
- Turn two-factor login and security plugins back on.
- Check email still works if your email was at the old host.
- Wait at least a few days, then cancel the old plan.
Mistakes to avoid when you move a website to a new host
- Cancelling the old host before DNS has switched.
- Forgetting email accounts and their messages.
- Moving during your busiest sales day.
- Not keeping a downloaded backup of your own.
Frequently Asked Questions
Will I lose SEO if I move a website to a new host?
Not if your domain and URLs stay the same and the site stays online. In fact, a faster host can help your rankings.
How long does it take to move a website?
The copy itself takes minutes to a couple of days, depending on the method. After that, DNS can take up to 48 hours to update everywhere.
Do I need to move my domain too?
No. You can keep the domain at its registrar and only change where it points.
What’s next
Your website now runs on its new host. Next, get to know the dashboard in cPanel vs hPanel, or browse the full Web Hosting track.
We recommend Hostinger for beginners: affordable plans, free SSL, one-click WordPress install and 24/7 support.
Get started with Hostinger →